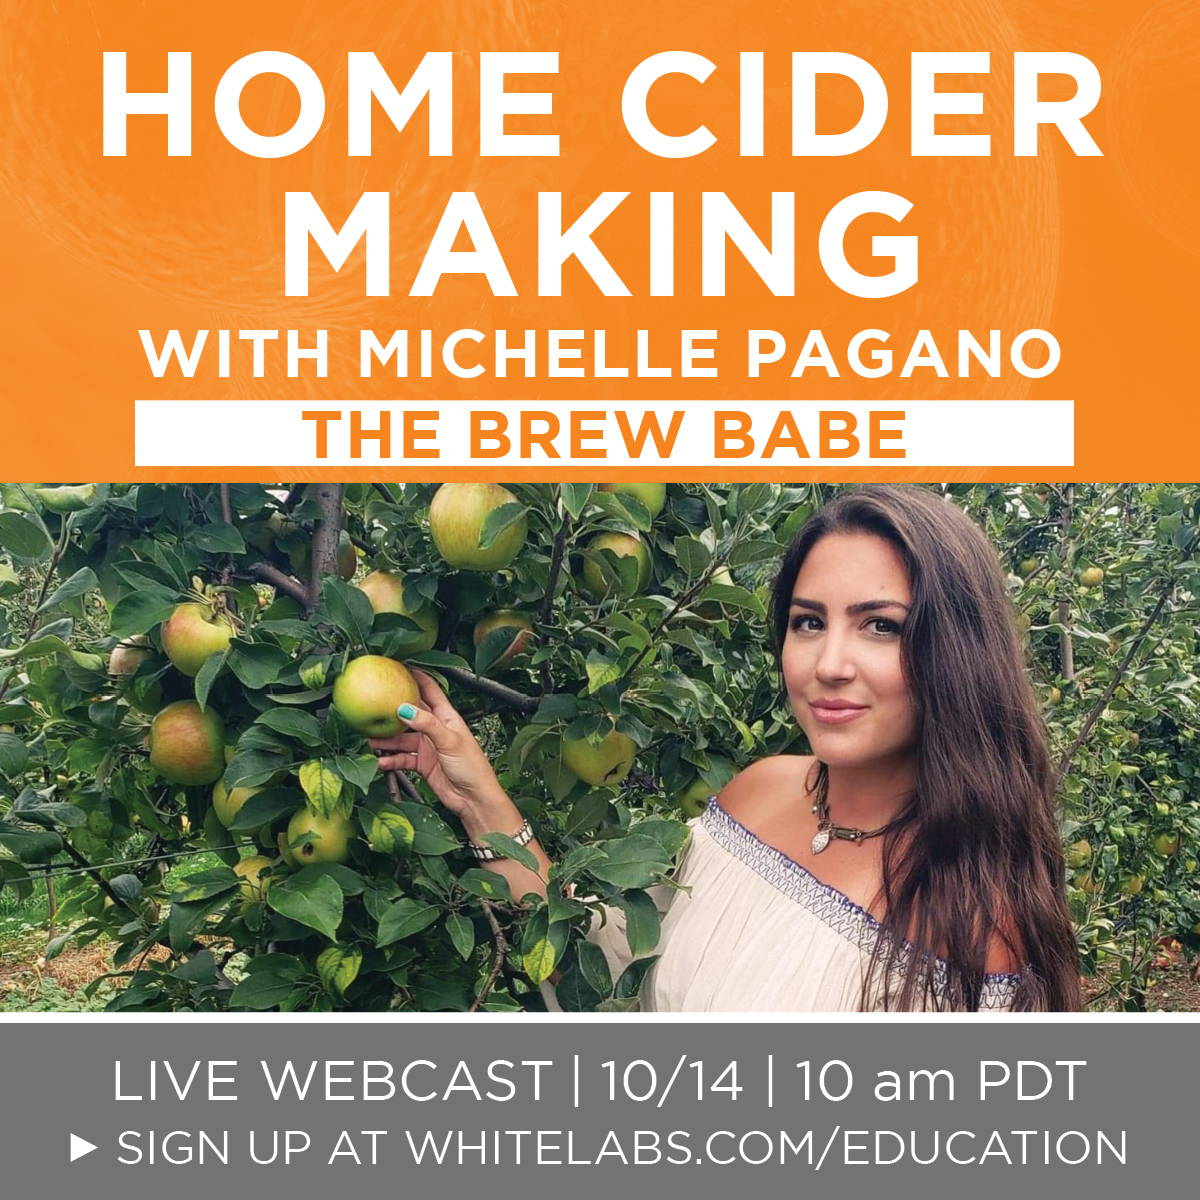
Since I’ve started this blog five years ago, I’ve written a lot about homebrewing and amateur cidermaking. I’ve offered tips on making your own at home, entering competitions, and even traveling with cans and bottles. Even on my social media channels, I’ve spoken about it in videos, posts, and live webcasts.
Although there are many wonderful resources and variations of cidermking online, I thought I’d offer my simple recipe for you all to try at home. Let me know how your cider turns out!
What You’ll Need
- 1 Gal Apple Juice (without preservatives)
- (2) 1 Gal Jugs
- Airlock
- Star San sanitizer
- 1/4 Yeast Packet
- Yeast Nutrient
- 1 Cup of Sugar (white sugar or brown sugar)
Directions
- Sanitize all items (including measuring cup, utensils, etc that you may use). Follow the instructions on the sanitizer bottle to mix the proper amount.
- Pour juice into jug. I like to make my cider with fresh pressed apples, but using juice from a local orchard or even store bought juice works well for beginners.
- Add the sugar.
- Pour yeast into juice. Many folks use wine yeast, but I use Safale S04 or S05. I measure out the correct amount (1/4 packet). You can experiment, but be sure your cider is at the correct temperature listed on the yeast packet for healthy fermentation.
- Add yeast nutrient (quantity varies per bottle, but typically it’s 1 tsp per gallon).
- Cap with airlock filled with sanitizer.
- Put the jug in a temperature controlled environment (suggested on the yeast packet) to ensure healthy fermentation.
- Let the jug sit 2-3 weeks.
- Using a siphon, transfer the cider into the second sanitized jug without siphoning the yeast on the bottom.
Carbonating/Bottling Cider
Once the cider has completed fermentation, you can enjoy it as a still cider or transfer into sanitized bottles and carbonate.
What You’ll Need
- 8-10 12 oz bottles
- Bottle caps
- Siphon
- 1/8 cup Sugar or Dextrose
- Star San sanitizer
Directions
- Sanitize all equipment (bottles, caps, capper, siphon, measuring cup etc.).
- To make priming sugar, dissolve 1/8 cup of sugar into water
- Add priming sugar evenly into the bottles.
- Fill the cider to the neck of the bottles.
- Cap bottles.
- Leave in dark, cool environment for 2 weeks.
- Crack bottle open and enjoy! If you’ll be storing them, place them in a fridge.
Tips
- Have a bucket and spray bottle of sanitizer readily available to keep everything sanitized.
- If your juice is unpasteurized, you’ll need to bring it to a boil. Simmer for 5 mins and allow it to cool to room temperature.
- Check on your cider to make sure it’s fermenting, look for the krausen (thick layer of yeast formation) at the top.
- Once you get the hang of making cider, you can add more/less sugar to create the ABV you’re looking for. Purchase a hydrometer so you can take the OG/FG reading. Readings help achieve the sugar content in your cider and distinguish when your cider is ready.
- This cider will turn out to be dry, so you can backsweeten it with sugar or apple juice concentrate. Don’t be afraid to experiment.
- Another option for flavoring cider is making tinctures. See this blog on how to make your own.


